Follow this step-by-step guide to learn how to create a scrapbook on Firstplanit.
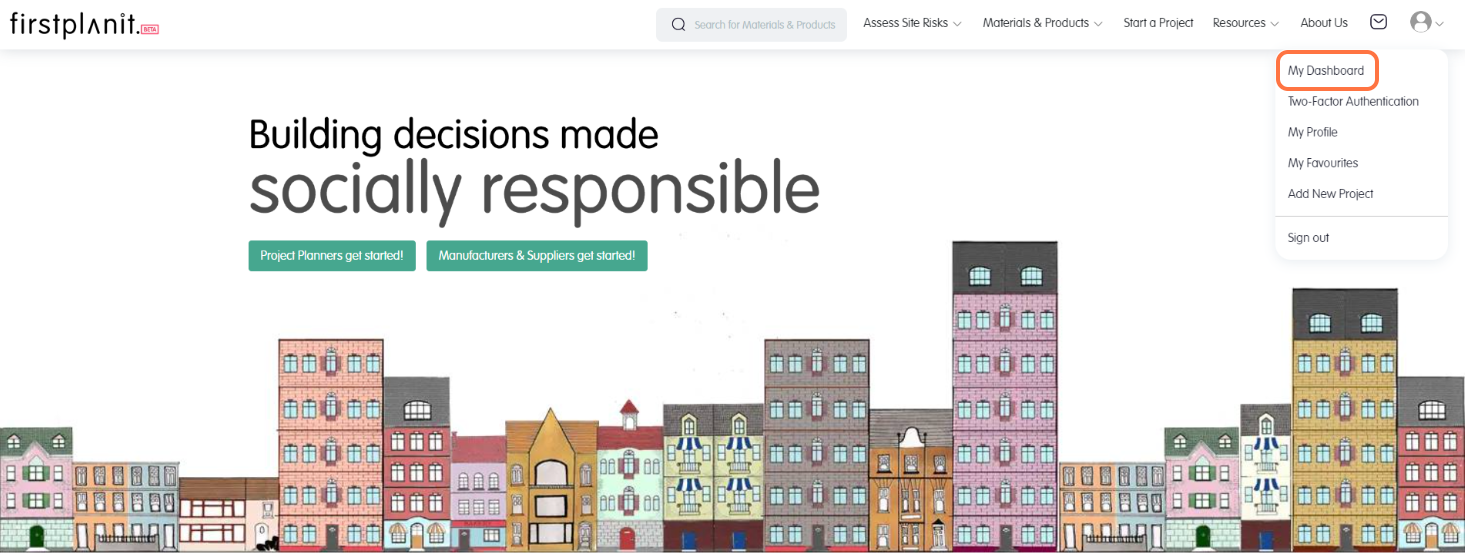
Step 1
Go to the Firstplanit landing page. Open your profile drop-down menu and click on the “My Dashboard” button to view your dashboard.
Step 2
You will be redirected to your dashboard, where you can view your projects. Click on the project you want to work on to start creating your scrapbook.
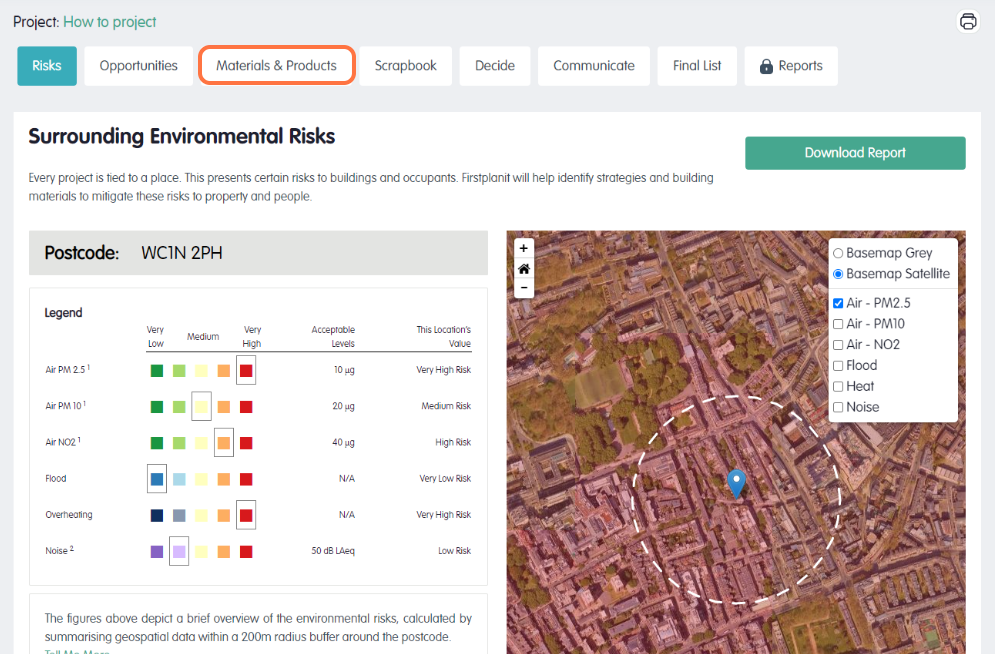
Step 3
Click on the materials and products button to start adding materials to your scrapbook.
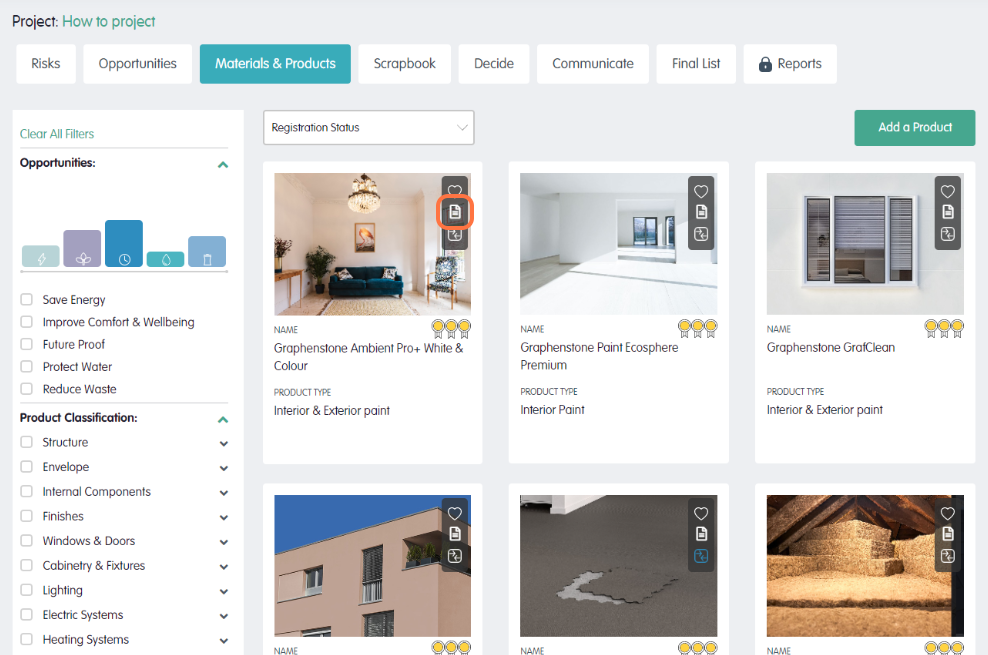
Step 4
Browse through the thousands of products available in the database. To add a product to your scrapbook, select the scrapbook icon on the right-hand side of the image.
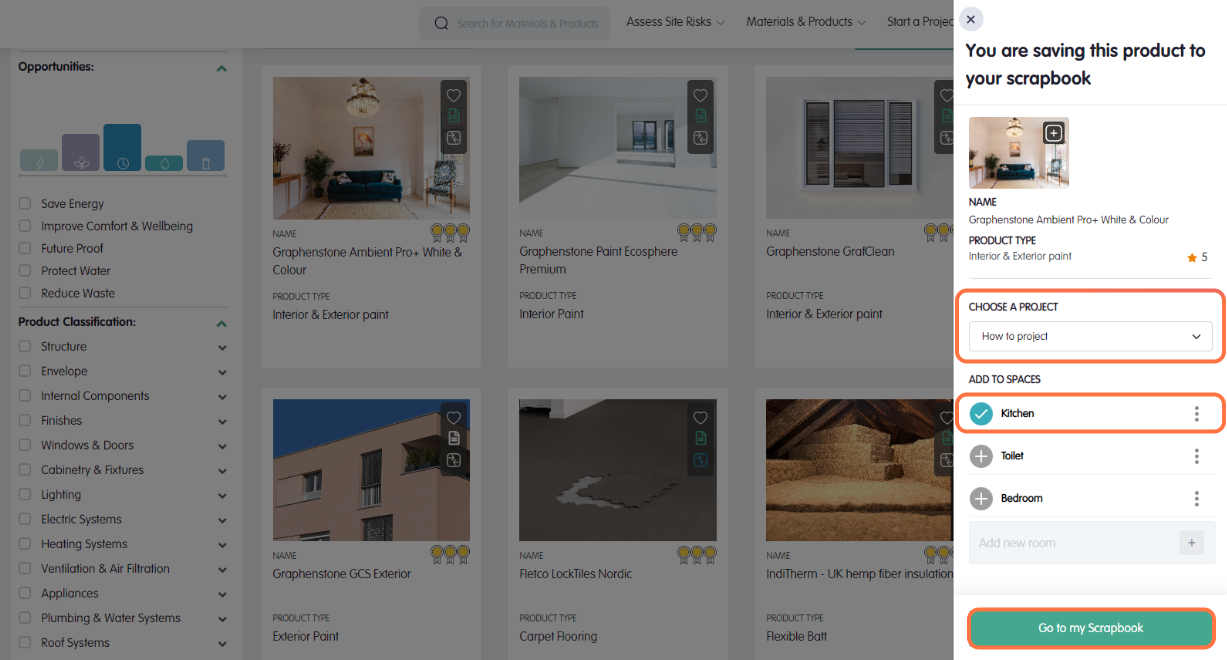
Step 5
Select the project to which you want to add the product and click on all the spaces you want to add this product to. Once you have selected the spaces, click on “Go to My Scrapbook” to view and compare these materials.
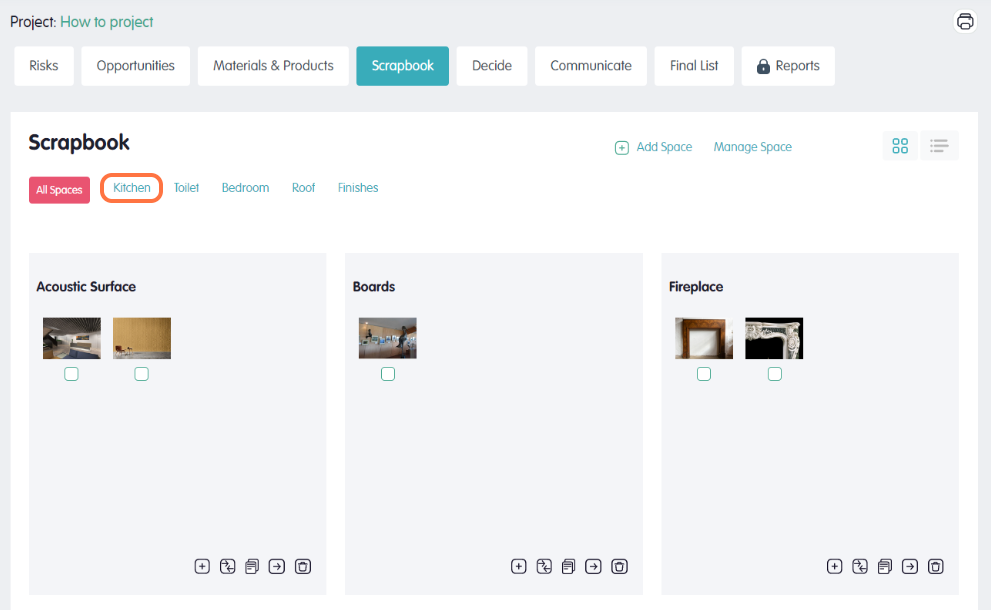
Step 6
You can now view your selected materials by type and space. Select a space to view the materials you have chosen.
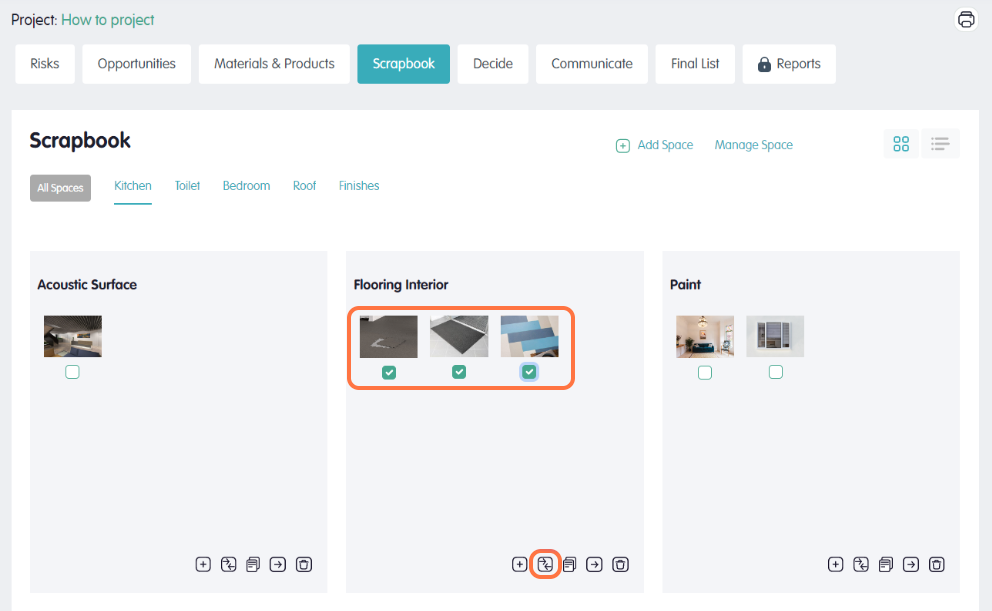
Step 7
Select all the materials you want to consider for your project and click on the compare icon to view the firstplanit evaluation for each product. This includes an evaluation of 18 key sustainability metrics, an environmental, social, health and monetary product score, and how each product aligns with green building rating standards (LEED, BREEAM and WELL) and the UN’s SDG targets.
You have now successfully created a scrapbook on Firstplanit. To develop an informed understanding of our Firstplanit comparisons you can read through our how to guide on comparing products (Skip to step 3 to follow on from this guide). View the whole series of how to guides on the Firstplanit blog.