Follow this step-by-step guide to learn how to create a new project on Firstplanit.
Step 1
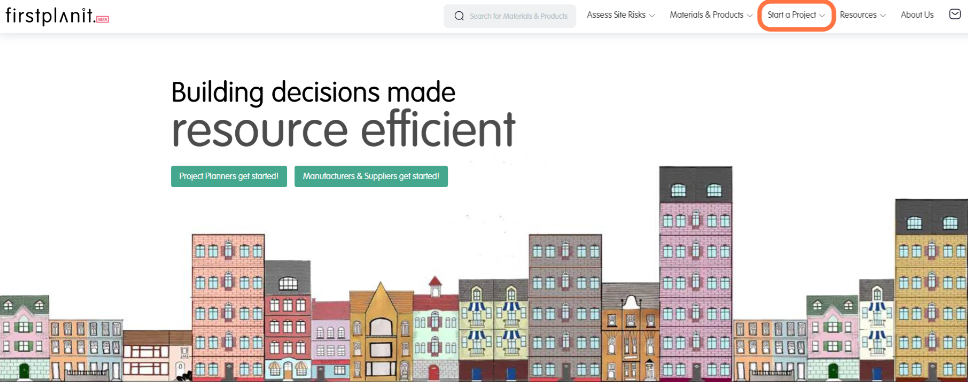
Go to the Firstplanit landing page and find the “Start a Project” button on the toolbar. Click on it to start creating your project.
Step 2
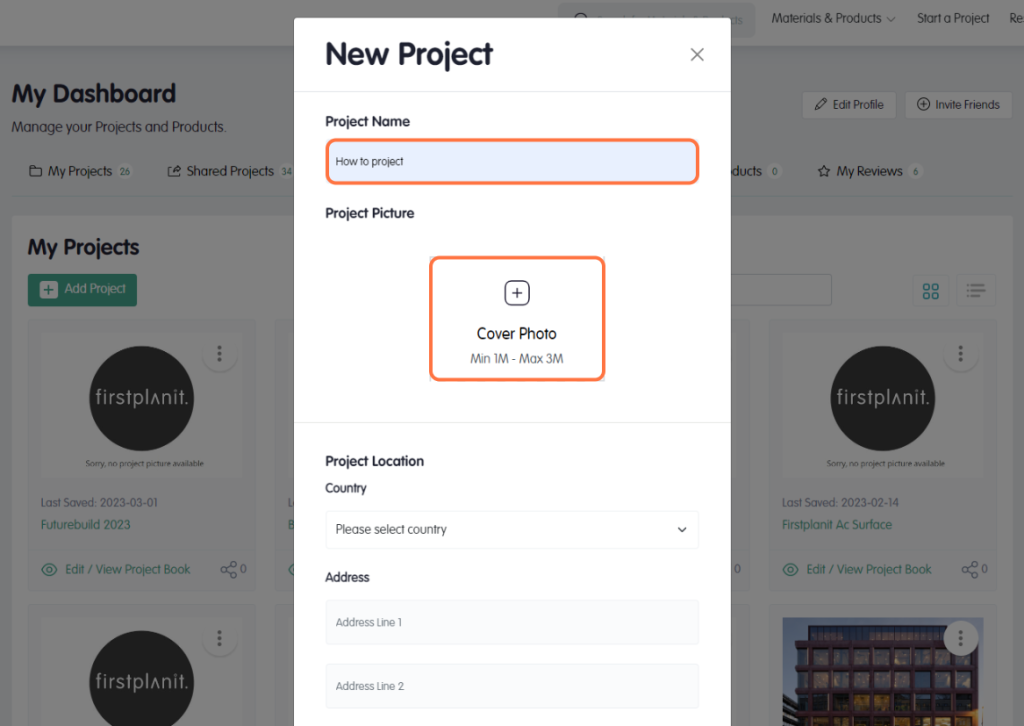
You will be redirected to the new project pop-up on your dashboard. Personalise your project by entering a project name and choosing a project picture.
Step 3
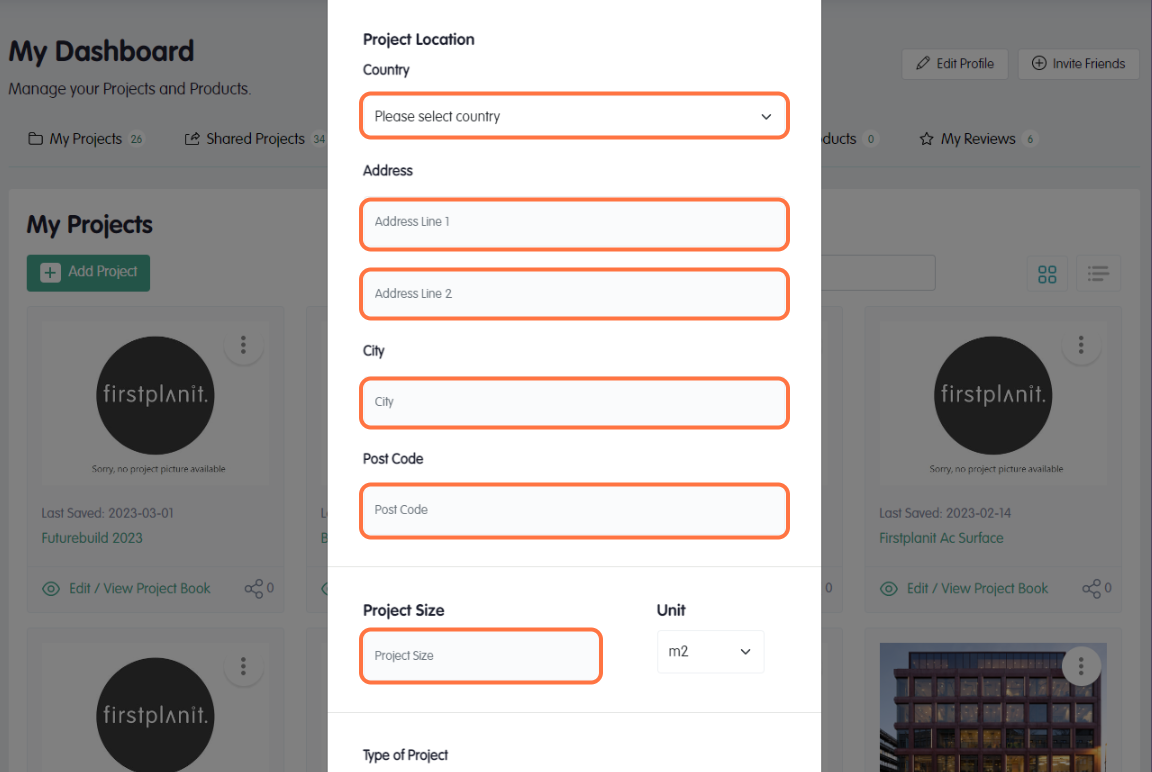
Provide details about the physical space of your project. Fill out the address for the site’s location and enter the project’s size.
Step 4
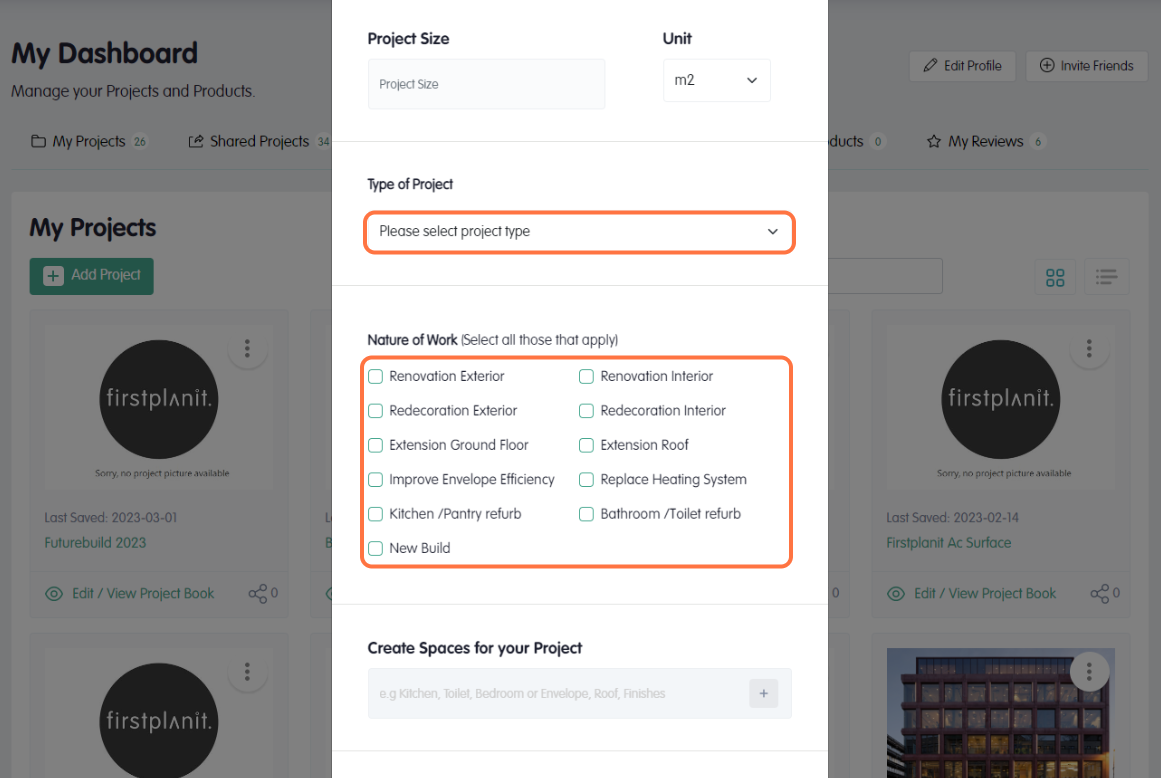
Contribute information that describes the project. Select the type of project choosing from residential, commercial, or industrial. Then, select the nature of the work, select all that apply from the available options.
Step 5
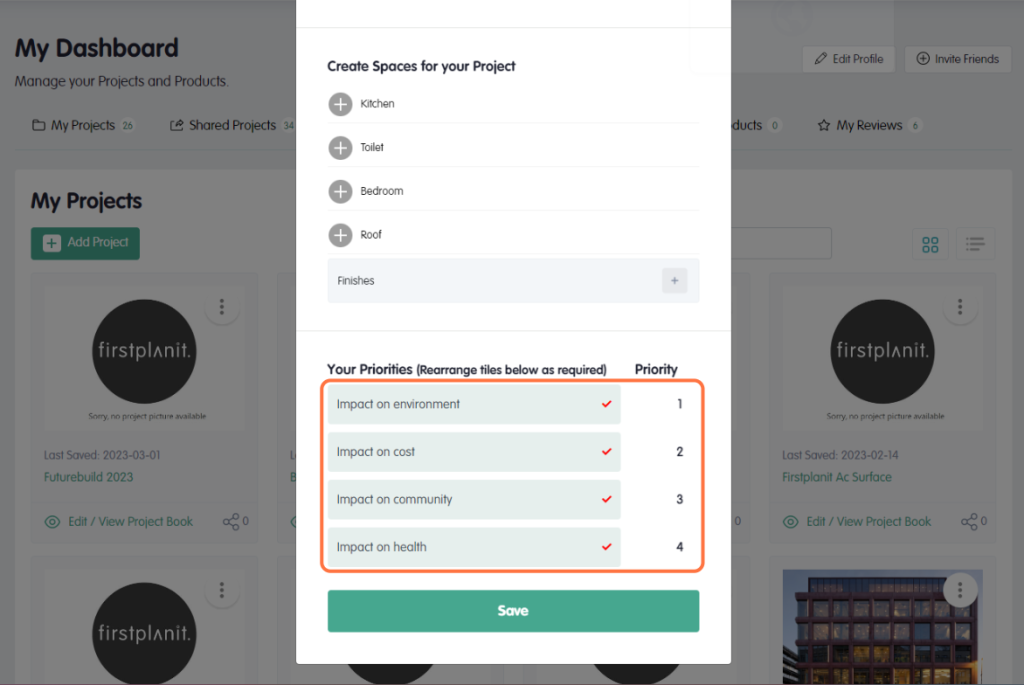
Create spaces for your project. These can be rooms such as toilets and bedrooms, or features such as roofs and flooring. Each individual space will be separately evaluated using Firstplanit data analysis.
Step 6
Prioritise the following impacts for your project: environment, cost, community, and health. Rearrange the tiles in order of importance to the project brief.
You have now successfully created a new project on Firstplanit. You can now start exploring the database and comparing products follow our step-by-step guides to learn how.